越来越多的Java应用基于Spring Boot,那么如何快速创建应用并开发部署呢?
创建项目
方式一:Spring Initializr
Spring initializr是Spring官网提供的工具,只要选择Spring Boot版本,输入项目信息,就会自动生成项目工程,用Eclipse或Ideal导入,即可开始。
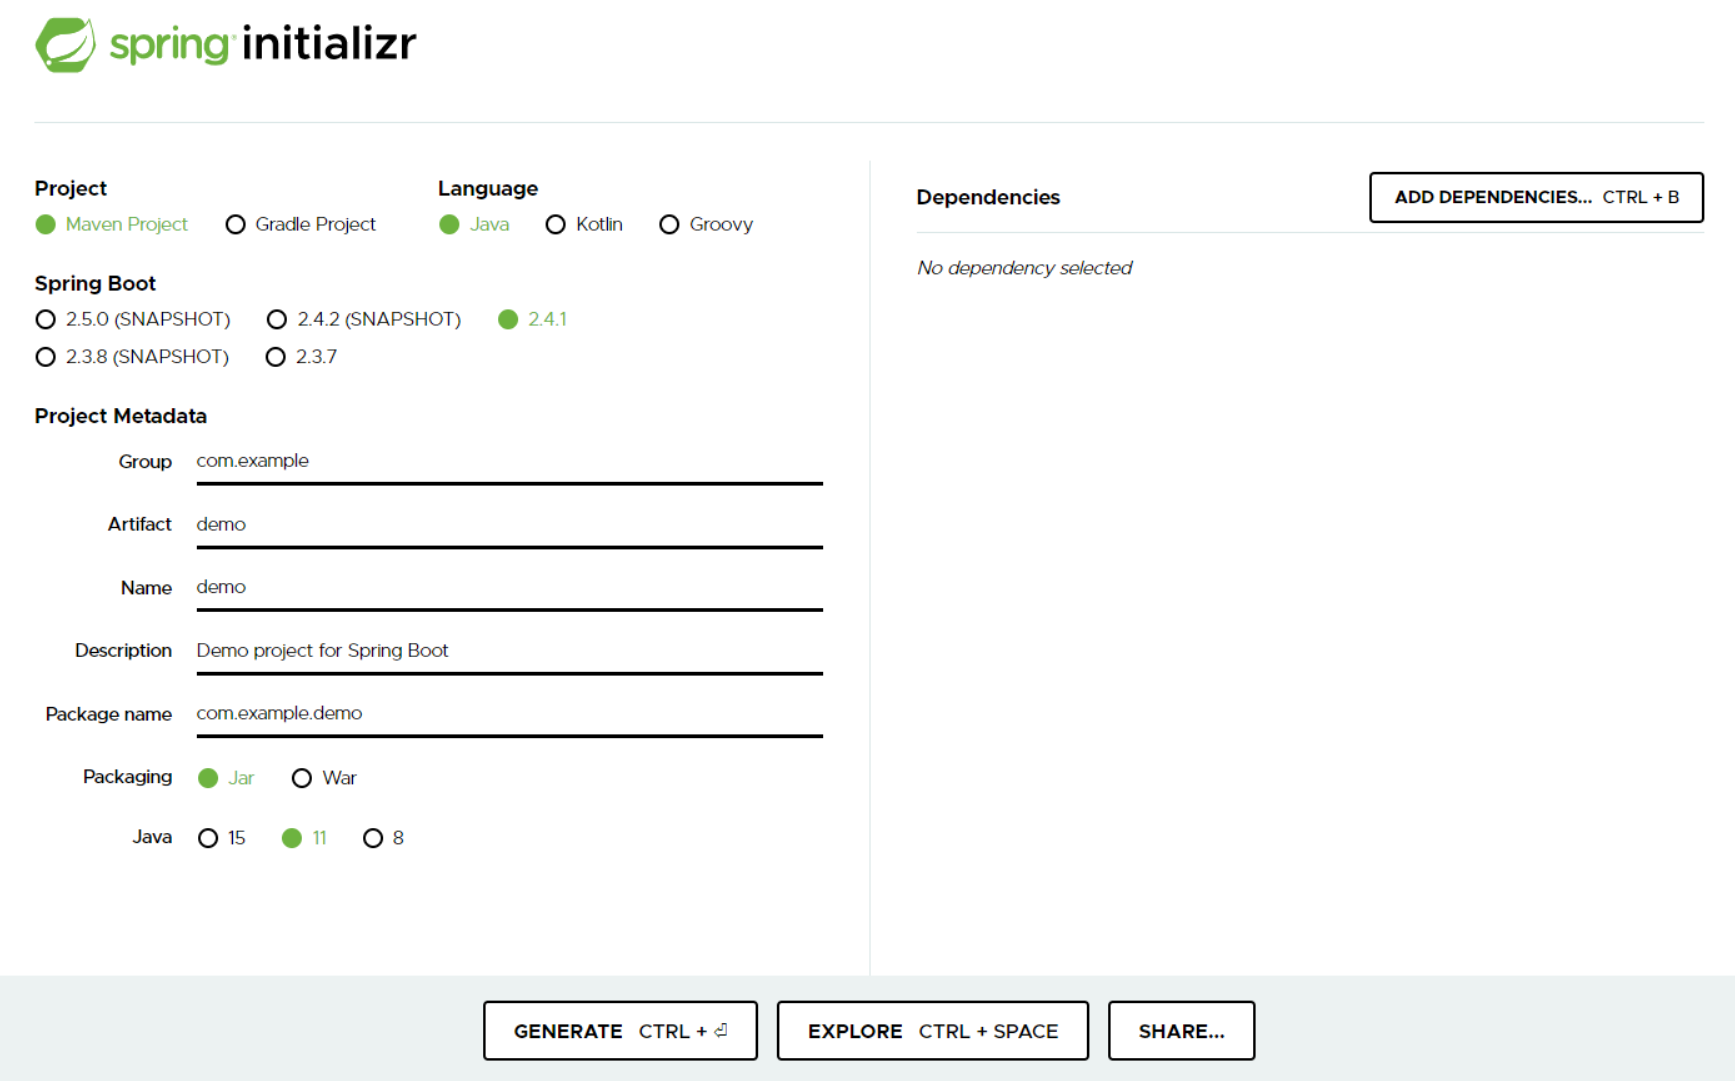
Spring Initializr网址:start.spring.io
方式二:引入Spring Boot依赖包
使用Spring Initializr生成的maven项目继承了Spring Boot。一般企业开发会有自己的父级项目。通过手动引入也可以实现相同效果。
创建maven项目,在pom.xml中引入Spring Boot依赖管理
<dependencyManagement>
    <dependencies>
        <dependency>
            <groupId>org.springframework.boot</groupId>
            <artifactId>spring-boot-dependencies</artifactId>
            <version>${version}</version>
            <type>pom</type>
            <scope>import</scope>
        </dependency>
    </dependencies>
</dependencyManagement>
在项目中引入相应的starter
<dependency>
    <groupId>org.springframework.boot</groupId>
    <artifactId>spring-boot-starter</artifactId>
</dependency>
启动应用
每个程序都有一个开始入口,Spring Boot应用是使用Java main方法启动的。
启动非web应用
每个Spring Boot应用在启动类都应加上 @SpringBootApplication 注解
@SpringBootApplication
public class Application {

    public static void main(String[] args) {
        new SpringApplicationBuilder(Application.class)
                .web(WebApplicationType.NONE) // .REACTIVE, .SERVLET
                .bannerMode(Banner.Mode.CONSOLE)
                .run(args);
    }
}
还可以实现 ApplicationRunner 接口,执行一些初始化操作。
@Override
public void run(ApplicationArguments args) {
    // 执行逻辑...
}
启动web应用
Web应用需要在pom.xml引入Spring MVC相关依赖
<dependency>
    <groupId>org.springframework.boot</groupId>
    <artifactId>spring-boot-starter-web</artifactId>
</dependency>
加上 @EnableWebMvc 注解,启用MVC
@SpringBootApplication
@EnableWebMvc
public class Application {

    public static void main(String[] args) {
        SpringApplication.run(Application.class);
    }

}
可以实现 ApplicationListener 接口,执行一些初始化操作。
public class Application implements ApplicationListener<ContextRefreshedEvent> {
    @Override
    public void onApplicationEvent(ContextRefreshedEvent contextRefreshedEvent) {
        if (contextRefreshedEvent.getApplicationContext().getParent() == null) {
            // root application context 没有parent,他就是老大。
            // 执行逻辑...
        }
    }
}
Spring Boot启动时默认读取项目下 application.yml 配置文件。
spring:
  application:
    name: spring-boot-demo
如果是web项目,可指定端口
server:
  port: 8080
示例:
server:
  port: 8080
spring:
  application:
    name: spring-boot-demo
  profiles:
    active: dev
    include:
  servlet:
    multipart:
      enabled: true
      location:
      max-file-size: 50MB
      max-request-size: 100MB
logging:
  level:
org.springframework: INFO更多属性配置可参考:Common Application properties
打包部署
Spring Boot提供Maven插件,可以把项目打成单独的jar包。
编辑pom.xml
<build>
    <finalName>生成jar名称</finalName>
    <plugins>
        <plugin>
            <groupId>org.springframework.boot</groupId>
            <artifactId>spring-boot-maven-plugin</artifactId>
            <executions>
                <execution>
                    <goals>
                        <goal>repackage</goal>
                    </goals>
                </execution>
            </executions>
            <configuration>
                <mainClass>启动类名称</mainClass>
                <fork>true</fork>
            </configuration>
        </plugin>
    </plugins>
</build>
也可以把资源文件,配置文件和依赖包分离出来,实现增量更新。
<plugins>
    <plugin>
        <groupId>org.springframework.boot</groupId>
        <artifactId>spring-boot-maven-plugin</artifactId>
        <configuration>
            <includes>
                <include>
                    <groupId>null</groupId>
                    <artifactId>null</artifactId>
                </include>
            </includes>
            <layout>JAR</layout>
            <addResources>true</addResources>
        </configuration>
        <executions>
            <execution>
                <goals>
                    <goal>repackage</goal>
                </goals>
                <configuration>
                    <!--配置jar包特殊标识 配置后,保留原文件,生成新文件 *-run.jar -->
                    <!--配置jar包特殊标识 不配置,原文件命名为 *.jar.original,生成新文件 *.jar -->
                    <!--<classifier>run</classifier>-->
                </configuration>
            </execution>
        </executions>
    </plugin>

    <!--打包jar-->
    <plugin>
        <groupId>org.apache.maven.plugins</groupId>
        <artifactId>maven-jar-plugin</artifactId>
        <configuration>
            <!--不打包资源文件-->
            <excludes>
                <exclude>*.**</exclude>
                <exclude>*/*.xml</exclude>
            </excludes>
            <archive>
                <manifest>
                    <addClasspath>true</addClasspath>
                    <!--MANIFEST.MF 中 Class-Path 加入前缀-->
                    <classpathPrefix>lib/</classpathPrefix>
                    <!--jar包不包含唯一版本标识-->
                    <useUniqueVersions>false</useUniqueVersions>
                    <!--指定入口类-->
                    <mainClass>启动类名称</mainClass>
                </manifest>
                <manifestEntries>
                    <!--MANIFEST.MF 中 Class-Path 加入资源文件目录-->
                    <Class-Path>./resources/</Class-Path>
                </manifestEntries>
            </archive>
            <outputDirectory>${project.build.directory}</outputDirectory>
        </configuration>
    </plugin>

    <!--拷贝依赖 copy-dependencies-->
    <plugin>
        <groupId>org.apache.maven.plugins</groupId>
        <artifactId>maven-dependency-plugin</artifactId>
        <executions>
            <execution>
                <id>copy-dependencies</id>
                <phase>package</phase>
                <goals>
                    <goal>copy-dependencies</goal>
                </goals>
                <configuration>
                    <outputDirectory>
                        ${project.build.directory}/lib/
                    </outputDirectory>
                    <includeScope>runtime</includeScope>
                </configuration>
            </execution>
        </executions>
    </plugin>

    <!--拷贝资源文件 copy-resources-->
    <plugin>
        <groupId>org.apache.maven.plugins</groupId>
        <artifactId>maven-resources-plugin</artifactId>
        <executions>
            <execution>
                <id>copy-resources</id>
                <phase>package</phase>
                <goals>
                    <goal>copy-resources</goal>
                </goals>
                <configuration>
                    <resources>
                        <resource>
                            <directory>src/main/resources</directory>
                        </resource>
                    </resources>
                    <outputDirectory>${project.build.directory}/resources</outputDirectory>
                </configuration>
            </execution>
        </executions>
    </plugin>
</plugins>
部署时别忘了把target目录下的lib和resource连同jar文件一起拷贝。
回复 默默无闻 取消回复