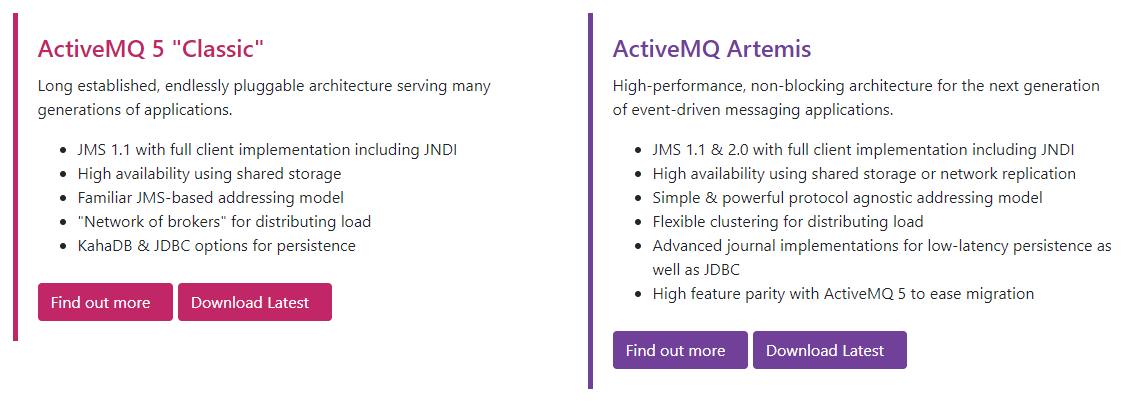
Apache ActiveMQ 是一款基于 Java 的消息服务器,它使用行业标准协议,支持我们把各种语言和平台开发的系统连接在一起。目前 ActiveMQ 分为两个版本:ActiveMQ 5 和 ActiveMQ Artemis (下一代ActiveMQ)。当 ActiveMQ Artemis 达到 ActiveMQ 功能时会变为 ActiveMQ 6 。
Spring JMS 是专门用来处理 Spring 消息的模块。它支持主流的消息中间键,能完美结合 ActiveMQ 。Spring Boot 应用通过集成 Spring JMS 模块整合 ActiveMQ ,本文涉及 ActiveMQ 5 和 ActiveMQ Artemis 两种配置方法,根据项目实际使用 ActiveMQ 的版本,采取一种配置即可。
引入依赖
- 引入activemq
<dependency>
    <groupId>org.springframework.boot</groupId>
    <artifactId>spring-boot-starter-activemq</artifactId>
</dependency>- 引入activemq artemis (与 activemq 二选一)
<dependency>
    <groupId>org.springframework.boot</groupId>
    <artifactId>spring-boot-starter-artemis</artifactId>
</dependency>
配置
在 application.yml 中增加:
- 配置 activemq
spring:
  activemq:
    broker-url: tcp://${ACTIVEMQ_HOST:localhost}:${ACTIVEMQ_PORT:61616} # activemq连接地址
    user: ${ACTIVEMQ_USER:admin} # 用户名
    password: ${ACTIVEMQ_PASSWORD:admin} # 密码
    send-timeout: # 发送超时时间
    pool:
      enabled: false # 是否创建 JmsPoolConnectionFactory 连接池
      idle-timeout: 30s # 空闲连接超时时间
      max-connections: 50 # 连接池中最大连接数
max-sessions-per-connection: 100 # 每个连接最大会话- 配置 activemq artemis
spring:
  artemis:
    mode: native
    host: ${ARTEMIS_HOST:localhost} # artermis连接地址
    port: ${ARTEMIS_PORT:9876} # artermis连接端口
    user: ${ARTEMIS_USER:admin} # 用户名
    password: ${ARTEMIS_PASSWORD:admin} # 密码
    send-timeout: # 发送超时时间
    pool:
      enabled: false # 是否创建 JmsPoolConnectionFactory 连接池
      idle-timeout: 30s # 空闲连接超时时间
      max-connections: 50 # 连接池中最大连接数
      max-sessions-per-connection: 100 # 每个连接最大会话
Spring JMS 中默使用 CachingConnectionFactory 创建连接池,如果指定 JmsPoolConnectionFactory 连接池,则在 spring.jms.* 中配置连接池属性。
spring:
  jms:
    session-cache-size: 5
关于 Activemq (Artemis) 和 Spring Jms 更多配置,可参考:Spring Boot Integration Properties
使用
JmsTemplate 是 Spring JMS 中用来发送消息的类。做完以上配置,在 Spring Boot 启动入口加上 @EnableJms 注解,项目在启动时会自动装配,在项目中直接注入 JmsTemplate 对象。
@SpringBootApplication
@EnableJms
public class Application {

    @Autowired
    private JmsTemplate jmsTemplate;

   public static void main(String[] args) {
        SpringApplication.run(Application.class);
    }

}
发送文本消息示例:
public void send(String msg) {

    log.info("发送消息:{}", msg);

    jmsTemplate.send(DEST_NAME, new MessageCreator() {
        @Override
        public Message createMessage(Session session) throws JMSException {
            // 也可以创建对象 session.createObjectMessage()
            TextMessage textMessage = session.createTextMessage();
            textMessage.setText(msg);
            return textMessage;
        }
    });
}
接收使用 @JmsListener 注解:
/**
 * 监听消息
 * @param content
 */
@JmsListener(destination = DEST_NAME, concurrency = "消费线程数")
public void recive(String content) {
    log.info("收到消息:{}", content);
}
发送消息和接收消息的 DEST_NAME 要保持一至。 concurrency 属性非必须,用来设置消费消息的程序数。关于 ActiveMQ 的详细介绍会在专门的章节讲解。